Top 5 Tarantula 3D Printer Parts
The Tarantula 3D printer, a popular choice for hobbyists and newcomers to 3D printing, offers a robust platform for creating three-dimensional objects. Understanding the essential parts of this printer is crucial for maintenance, upgrades, and achieving optimal print quality. This guide highlights the top 5 critical components of the Tarantula 3D printer, providing insights into their function and importance. These parts are fundamental to the printer’s operation, and knowing their roles will empower you to troubleshoot issues, improve your prints, and fully utilize the printer’s capabilities. Whether you’re a beginner or an experienced user, this overview will help you navigate the world of Tarantula 3D printer parts and enhance your 3D printing experience.
The Extruder
The extruder is the heart of the 3D printing process, responsible for feeding the filament into the hot end. It’s a critical component because it controls the flow of melted plastic, directly influencing the quality and precision of the prints. The extruder mechanism typically consists of a motor, a gear system, and a hobbed bolt or gear that grips the filament. The motor drives the gear, which pushes the filament towards the hot end. The pressure and consistency of the filament feed are essential for consistent extrusion, preventing issues like under-extrusion or over-extrusion, which can severely impact print quality. Extruders come in various types, including direct drive and Bowden extruders, each with its advantages. Regular maintenance, such as cleaning the gear and ensuring proper tension, is necessary to maintain the extruder’s optimal performance. Having a reliable extruder is the first step toward successful 3D printing.
Hot End Components

The hot end is the part of the 3D printer that heats and melts the filament, preparing it for extrusion. This assembly typically includes a heating block, a heat break, a nozzle, and a thermistor and heater cartridge. The heating block houses the heater cartridge and thermistor, providing the necessary heat for melting the filament. The heat break, usually made of a thermally resistant material, prevents heat from traveling up to the extruder motor and causing jams. Proper temperature control is essential for consistent extrusion. The hot end’s performance directly affects the quality of the prints; temperature fluctuations or blockages can cause layer adhesion problems or failed prints. Regular inspection and maintenance, including nozzle cleaning and temperature calibration, are necessary to maintain the hot end’s efficiency. Understanding the components and their functions will help you keep your printer working smoothly and producing high-quality results. See picture of the hot end components (tarantula-hot-end.webp).
Nozzle
The nozzle is the final point where the melted filament is extruded onto the print bed, shaping the printed object’s layers. Nozzles come in various sizes, typically ranging from 0.2mm to 1.0mm or more. The nozzle size influences the print resolution, speed, and the types of materials that can be used. A smaller nozzle size provides higher resolution and more detailed prints, while a larger nozzle size allows faster printing speeds and can handle more abrasive materials. Nozzles are made from various materials, including brass, stainless steel, and hardened steel, each offering different levels of durability and heat conductivity. The nozzle’s condition significantly impacts print quality; clogs or wear can lead to print defects. Cleaning the nozzle regularly and replacing it when necessary ensures consistent and accurate filament extrusion. The choice of nozzle size and material should be based on the specific requirements of the print job.
Thermistor and Heater Cartridge
The thermistor and heater cartridge are crucial components of the hot end, working together to maintain the precise temperature required for melting the filament. The thermistor measures the temperature of the hot end and sends this data to the printer’s control board. The heater cartridge, typically a resistive heating element, provides the heat necessary to melt the filament. Precise temperature control is critical for successful 3D printing, as variations can lead to poor layer adhesion, warping, or other print defects. The thermistor and heater cartridge must be properly calibrated and maintained. Replacing a faulty thermistor or heater cartridge promptly can prevent many printing issues. Keeping these components in good working order is vital to ensure optimal performance of the hot end and produce quality prints. This ensures that the filament is melted consistently, leading to uniform layer adhesion and improved print quality.
Extruder Motor

The extruder motor, typically a stepper motor, drives the hobbed bolt or gear that pushes the filament through the hot end. The motor’s precision and torque are critical for controlling the rate and consistency of filament extrusion. A properly functioning extruder motor ensures a consistent flow of filament, which directly affects the quality of the printed layers. If the motor is not powerful enough, it may struggle to push the filament, leading to under-extrusion and print failures. The motor’s settings, such as the steps per millimeter (mm), must be calibrated accurately to ensure precise extrusion. Regular maintenance includes checking the motor for overheating and ensuring that the wiring connections are secure. The extruder motor is fundamental to the printer’s functionality, so its reliable operation is essential for achieving high-quality prints. Proper maintenance and calibration will help maintain the motor’s precision and extend its lifespan.
The Bed
The print bed is the surface where the 3D-printed object is built. It is one of the most important parts of the printer, as it provides the foundation for the print and directly influences the adhesion of the first layer. A level and stable bed is crucial for successful printing. Print beds come in various types, including heated and unheated. A heated bed is especially important for printing with materials like ABS and PETG, which require higher temperatures to prevent warping and improve adhesion. The bed must be properly leveled before each print to ensure the nozzle is at the correct distance from the bed surface. This leveling can be done manually or automatically, depending on the printer model. A clean bed surface is vital for good adhesion. Choosing the right bed surface and ensuring proper leveling are essential for ensuring the first layer adheres correctly, which is key to the entire print’s success. Check the image (tarantula-bed.webp) and see the bed overview.
Bed Surface Options
Print beds can use a variety of surfaces to improve adhesion and provide the optimal printing environment. Common bed surface options include glass, BuildTak, PEI sheets, and Kapton tape. Glass beds offer a smooth surface and provide excellent heat distribution, but they often require the use of adhesive materials like glue stick or hairspray to improve adhesion. BuildTak and PEI sheets are popular choices due to their excellent adhesion properties and ease of use; they provide a surface that the filament sticks to well while printing and allows for easy removal of the finished print. Kapton tape is a heat-resistant tape that provides good adhesion for various materials. The choice of bed surface depends on the materials being printed and the printer’s design. Each surface has its advantages and disadvantages regarding adhesion, ease of use, and durability. Selecting the right bed surface can significantly improve the print’s first-layer adhesion and reduce the chances of warping or other print defects. Experimenting with different surfaces can help you find the best option for your specific printing needs.
Bed Leveling

Bed leveling is the process of ensuring that the print bed is perfectly level relative to the nozzle. This is crucial for ensuring that the first layer of the print adheres correctly and that the entire print is successful. There are two main types of bed leveling manual leveling and automatic leveling. Manual leveling involves adjusting the bed’s height using screws or knobs at each corner until the nozzle is the correct distance from the bed surface. Automatic leveling uses sensors to map the bed’s surface and compensate for any imperfections, providing a more precise and often more convenient method. Proper bed leveling ensures a consistent distance between the nozzle and the bed across the entire print surface. If the bed is not level, the nozzle may be too close or too far from the bed, causing poor adhesion, nozzle dragging, or print failures. It’s an essential maintenance task for maintaining print quality, regardless of the method used. Regular bed leveling is necessary, especially when changing nozzles or adjusting the printer’s settings. (tarantula-3d-print.webp) shows the proper way to set up the bed for the printing.
The Frame and Structure
The frame and structure of the Tarantula 3D printer provide the foundation and stability necessary for precise printing. The frame holds all the components together and ensures that the moving parts can operate smoothly without interference. A sturdy frame minimizes vibrations, which can affect print quality, especially at higher speeds. The frame’s design influences the printer’s build volume and overall performance. Stable frame construction, along with a robust structure, guarantees the precision of each print. The frame’s rigidity is crucial for the accurate positioning of the nozzle and print bed during operation. A well-built frame reduces the chance of print defects caused by movement or instability. Regular inspection of the frame and structure ensures all screws are secure, and there are no signs of damage. Maintaining the frame’s integrity is vital for consistently achieving high-quality prints, as it supports all other components and allows them to function effectively.
Frame Materials
The materials used for the frame and structure play a significant role in the printer’s stability and performance. Common frame materials include aluminum extrusions, acrylic, and steel. Aluminum extrusions are popular due to their lightweight yet rigid properties, providing excellent stability and ease of assembly. Acrylic frames offer a clear aesthetic but can be less rigid and more prone to vibration than aluminum. Steel frames provide the highest rigidity and stability but can be heavier and more expensive. The choice of frame material affects the overall print quality and the printer’s ability to handle vibrations. The best material for the frame depends on individual printing needs and budget. The chosen material should have enough rigidity to prevent the frame from flexing or moving during printing, maintaining the accuracy of the print. Upgrading the frame material can significantly improve the print quality by reducing vibration. Choosing the right frame material is an important consideration when selecting or upgrading a 3D printer, ensuring consistent, high-quality prints. (tarantula-3d-printer-overview.webp) shows the Tarantula 3D printer overview.
Z-Axis Components

The Z-axis components control the vertical movement of the print bed or the hot end, allowing the printer to build the object layer by layer. The Z-axis system typically includes lead screws, stepper motors, and guide rods. The lead screws, driven by stepper motors, move the print bed or hot end along the Z-axis, ensuring precise vertical positioning. Guide rods provide stability and prevent the bed or hot end from wobbling. The Z-axis’s accuracy and stability are crucial for layer alignment and print quality. Inaccuracies can lead to visible layer lines, poor surface finish, and overall print defects. Regular maintenance includes lubricating the lead screws and guide rods, ensuring they move smoothly. The stepper motor drivers must be accurately calibrated for the Z-axis to move in the correct increments. Proper maintenance and setup of the Z-axis components are essential to ensure smooth and accurate vertical movement, leading to higher quality prints. Ensuring the Z-axis components are properly aligned and maintained contributes to the dimensional accuracy and overall quality of the printed objects.
Electronics and Control
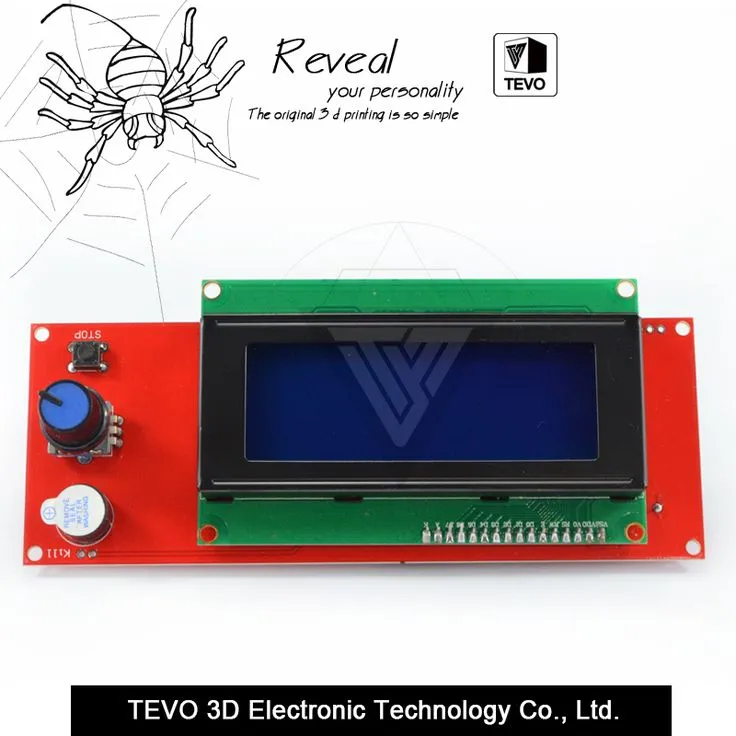
The electronics and control systems of the Tarantula 3D printer manage all the printer’s functions, including movement, temperature control, and communication with the user. Key components include the motherboard, power supply, and stepper motors with their drivers. The motherboard is the brain of the printer, controlling all the other components. The power supply provides the necessary voltage to operate the electronics, motors, and heating elements. Stepper motors, controlled by drivers, move the print bed and extruder along the X, Y, and Z axes. The firmware installed on the motherboard interprets the G-code instructions from the user, controlling the printer’s movements and functions. A reliable and well-configured electronics setup is crucial for accurate and consistent printing. Common issues with electronics include motor driver failures, temperature sensor malfunctions, and power supply problems. Regular inspection and proper calibration of the electronics are essential for troubleshooting and maintaining the printer’s performance. (tarantula-motherboard.webp) is showing a motherboard inside the printer.
Motherboard
The motherboard is the central processing unit of the Tarantula 3D printer, controlling all the printer’s functions. It houses the microcontroller, motor drivers, and connection ports for various components like the hot end, print bed, and endstops. The motherboard receives instructions from the user through the SD card or USB connection, interpreting the G-code and controlling the movements of the motors, the heating of the hot end, and the print bed temperature. The quality and capabilities of the motherboard directly influence the printer’s performance and features. Upgrading the motherboard can improve the printer’s print speed, accuracy, and compatibility with advanced features like auto-leveling and Wi-Fi connectivity. Maintaining the motherboard involves keeping the firmware updated and ensuring all connections are secure. Understanding the motherboard’s role and functions is essential for troubleshooting problems and optimizing the printer’s performance. (tarantula-motherboard.webp) is showing the motherboard overview.
Power Supply

The power supply provides the necessary electrical power to all the components of the Tarantula 3D printer. It converts the AC voltage from the power outlet into the DC voltage required by the printer’s electronics, motors, and heating elements. A reliable power supply is crucial for stable and consistent printing. Insufficient or unstable power can cause various issues, including print failures, motor malfunctions, and even damage to the printer’s components. The power supply must be rated for the correct voltage and amperage to handle the printer’s demands. Regular inspection of the power supply involves checking the wiring, ensuring the fan is functioning properly, and verifying that the voltage output is within the specified range. Upgrading the power supply can be beneficial for printers that have undergone modifications or have power-hungry components. A properly functioning power supply is essential to ensure that the printer runs reliably and safely. This ensures all components, from the motors to the heated bed, receive the necessary power for their operation.
Stepper Motors and Drivers
Stepper motors and their drivers are responsible for controlling the precise movements of the printer’s axes. Stepper motors are used to move the extruder, print bed, and hot end. The motor drivers regulate the current supplied to the stepper motors, allowing for controlled and precise movement. Accurate motor control is critical for achieving high-quality prints. Each motor is controlled by a driver, which interprets the signals from the motherboard and controls the motor’s movement. Proper calibration and tuning of the stepper motor drivers are essential to ensure accurate movement. Issues with stepper motors or drivers can lead to layer shifting, print defects, and other errors. Regular maintenance involves checking the wiring, ensuring the drivers are properly cooled, and calibrating the motor steps per mm. A well-functioning stepper motor and driver system is essential for the precise positioning of the nozzle and bed, directly influencing the quality and accuracy of the prints. (tarantula-stepper-motor.webp) is showing the image of stepper motor.
Conclusion Choosing Your Tarantula 3D Printer Parts
Understanding the key components of the Tarantula 3D printer is vital for anyone using this printer. From the extruder and hot end to the print bed, frame, and electronics, each part plays a crucial role in the 3D printing process. Proper maintenance, upgrades, and troubleshooting depend on a solid grasp of these components. This guide has outlined the top 5 essential parts and their functionalities, empowering you to optimize your printer’s performance and improve your printing experience. By paying attention to these components and following maintenance best practices, you can ensure that your Tarantula 3D printer produces high-quality prints consistently. Whether you’re a beginner or an experienced user, this knowledge will help you get the most out of your 3D printer and expand your creative possibilities. Now you are ready to pick your favorite Tarantula 3D Printer parts and start working on your prints. (tarantula-filament.webp) shows the image of different filaments and (tarantula-3d-print.webp) is the image of final prints.